简介
Traefik是一个为了让部署微服务更加便捷而诞生的现代HTTP反向代理、负载均衡工具。它支持多种后台 (Docker, Swarm, Kubernetes, Marathon, Mesos, Consul, Etcd, Zookeeper, BoltDB, Rest API, file…) 来自动化、动态的应用它的配置文件设置。
核心概念:
当启动Traefik时,需要定义entrypoints,然后通过entrypoints的路由来分析传入的请求,来查看他们是否是一组规则匹配,如果匹配,则路由可能将请求通过一系列的转换过来在发送到服务上去。
Providers用来自动发现平台上的服务,可以是编排工具、容器引擎Entrypoints监听传入的流量,是网络的入口点,定义了接受请求的端口(HTTP或者TCP)Routers分析请求(host,path,headers,SSL等),负责将传入的请求连接到可以处理这些请求的服务上去Service将请求转发给应用,负责配置如何最终将处理传入请求的实际服务Middlewares中间件,用来修改请求或者根据请求来做出判断,中间件被附件到路由上,是一种在请求发送到服务之前调整请求的一种方法
安装
使用helm在k8s中安装
1
2
3
| helm repo add traefik https://helm.traefik.io/traefik
helm repo update
helm install --namespace=traefik --create-namespace traefik traefik/traefik
|
暴露dashboard服务
1
| kubectl port-forward $(kubectl get pods --selector "app.kubernetes.io/name=traefik" --output=name -n traefik) -n traefik --address 0.0.0.0 9000:9000
|
 1
 2
 3
 4
 5
 6
 7
 8
 9
10
11
12
13
14
15
| # traefik-dashboard.yaml
apiVersion: traefik.io/v1alpha1
kind: IngressRoute
metadata:
name: traefik-dashboard
namespace: traefik
spec:
entryPoints:
- web
routes:
- match: Host(`traefik.nblh.local`) && (PathPrefix(`/dashboard`) || PathPrefix(`/api`))
kind: Rule
services:
- name: api@internal
kind: TraefikService
|
Host为你的域名,写好配置清单之后kubectl apply一下就好了.
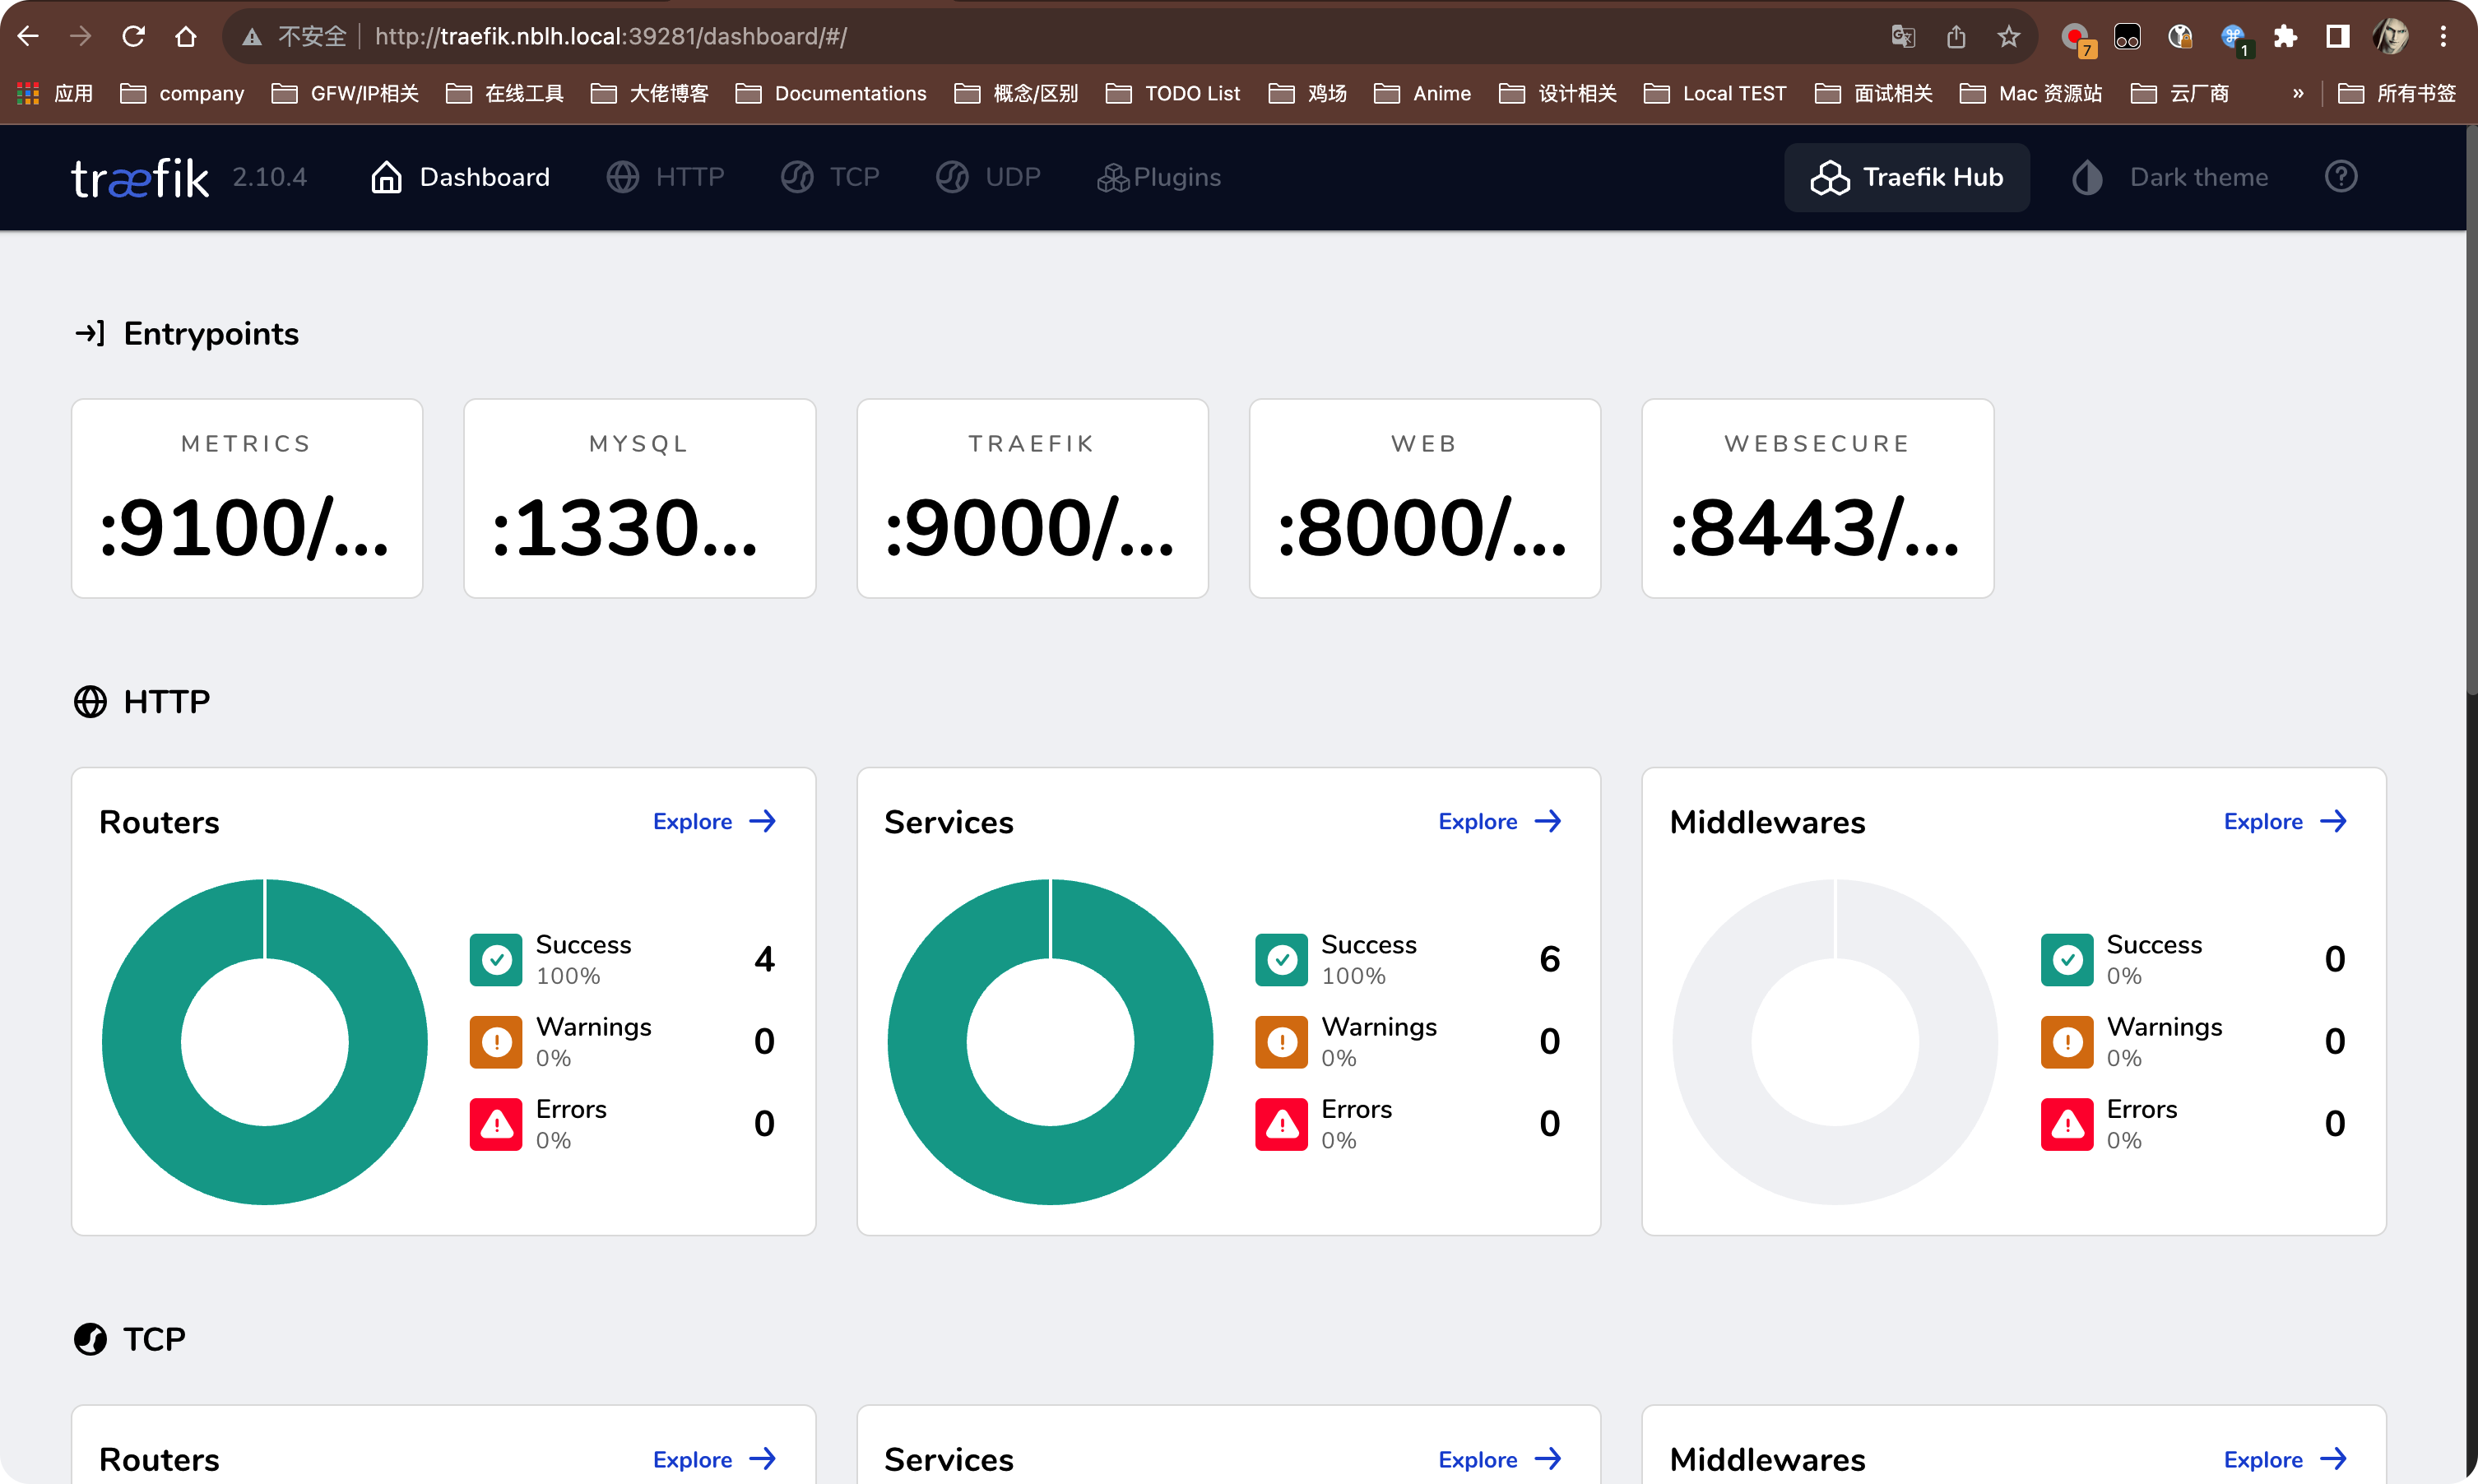
最后打开浏览器访问 http://traefik.nblh.local:39281/dashboard/ 即可(注意dashboard后面还有个/不然访问不了).
 上面的
上面的39281为traefik NodePort的映射端口,这里要换成实际自己的(没有LoadBlancer的话).
docker中运行
1
| docker run -d -p 8080:8080 -p 80:80 \ -v $PWD/traefik.yml:/etc/traefik/traefik.yml traefik:v2.10
|
使用场景
路由
 1
 2
 3
 4
 5
 6
 7
 8
 9
10
11
12
13
14
15
16
17
18
19
20
21
22
23
24
25
26
27
28
29
30
31
32
33
34
35
36
37
38
39
40
41
42
43
44
45
46
47
48
49
50
51
52
53
54
55
56
57
58
59
60
61
62
63
64
65
66
67
68
69
70
71
72
| # 下面以官方whoami为例,稍作改动
kind: Deployment
apiVersion: apps/v1
metadata:
name: whoami
labels:
app: whoami
spec:
replicas: 1
selector:
matchLabels:
app: whoami
template:
metadata:
labels:
app: whoami
spec:
containers:
- name: whoami
image: traefik/whoami
ports:
- name: web
containerPort: 80
---
apiVersion: v1
kind: Service
metadata:
name: whoami
spec:
ports:
- name: web
port: 80
targetPort: web
selector:
app: whoami
# ---
# apiVersion: networking.k8s.io/v1
# kind: Ingress
# metadata:
# name: whoami-ingress
# spec:
# rules:
# - host: whoami.nblh.local
# http:
# paths:
# - path: /whoami
# pathType: Prefix
# backend:
# service:
# name: whoami
# port:
# name: web
---
apiVersion: traefik.io/v1alpha1
kind: IngressRoute
metadata:
name: whoami-example
namespace: traefik
spec:
entryPoints:
- web
routes:
- match: Host(`whoami.nblh.local`) && PathPrefix(`/`)
kind: Rule
services:
- name: whoami
port: 80
kind: Service
namespace: traefik
|
应用清单文件并查看结果:
 1
 2
 3
 4
 5
 6
 7
 8
 9
10
11
12
13
14
15
16
17
18
19
20
21
22
23
24
25
26
27
| # 应用
kubectl apply -f whoami.yaml
# describe看一下
kdn traefik ingressroutes.traefik.io whoami-example
Name: whoami-example
Namespace: traefik
Labels: <none>
Annotations: <none>
API Version: traefik.io/v1alpha1
Kind: IngressRoute
Metadata:
Creation Timestamp: 2023-09-21T06:04:42Z
Generation: 1
Resource Version: 5659968
UID: cb2ada76-9f1a-45aa-9fa2-541b5894409c
Spec:
Entry Points:
web
Routes:
Kind: Rule
Match: Host(`whoami.nblh.local`) && PathPrefix(`/`)
Services:
Kind: Service
Name: whoami
Namespace: traefik
Port: 80
Events: <none>
|
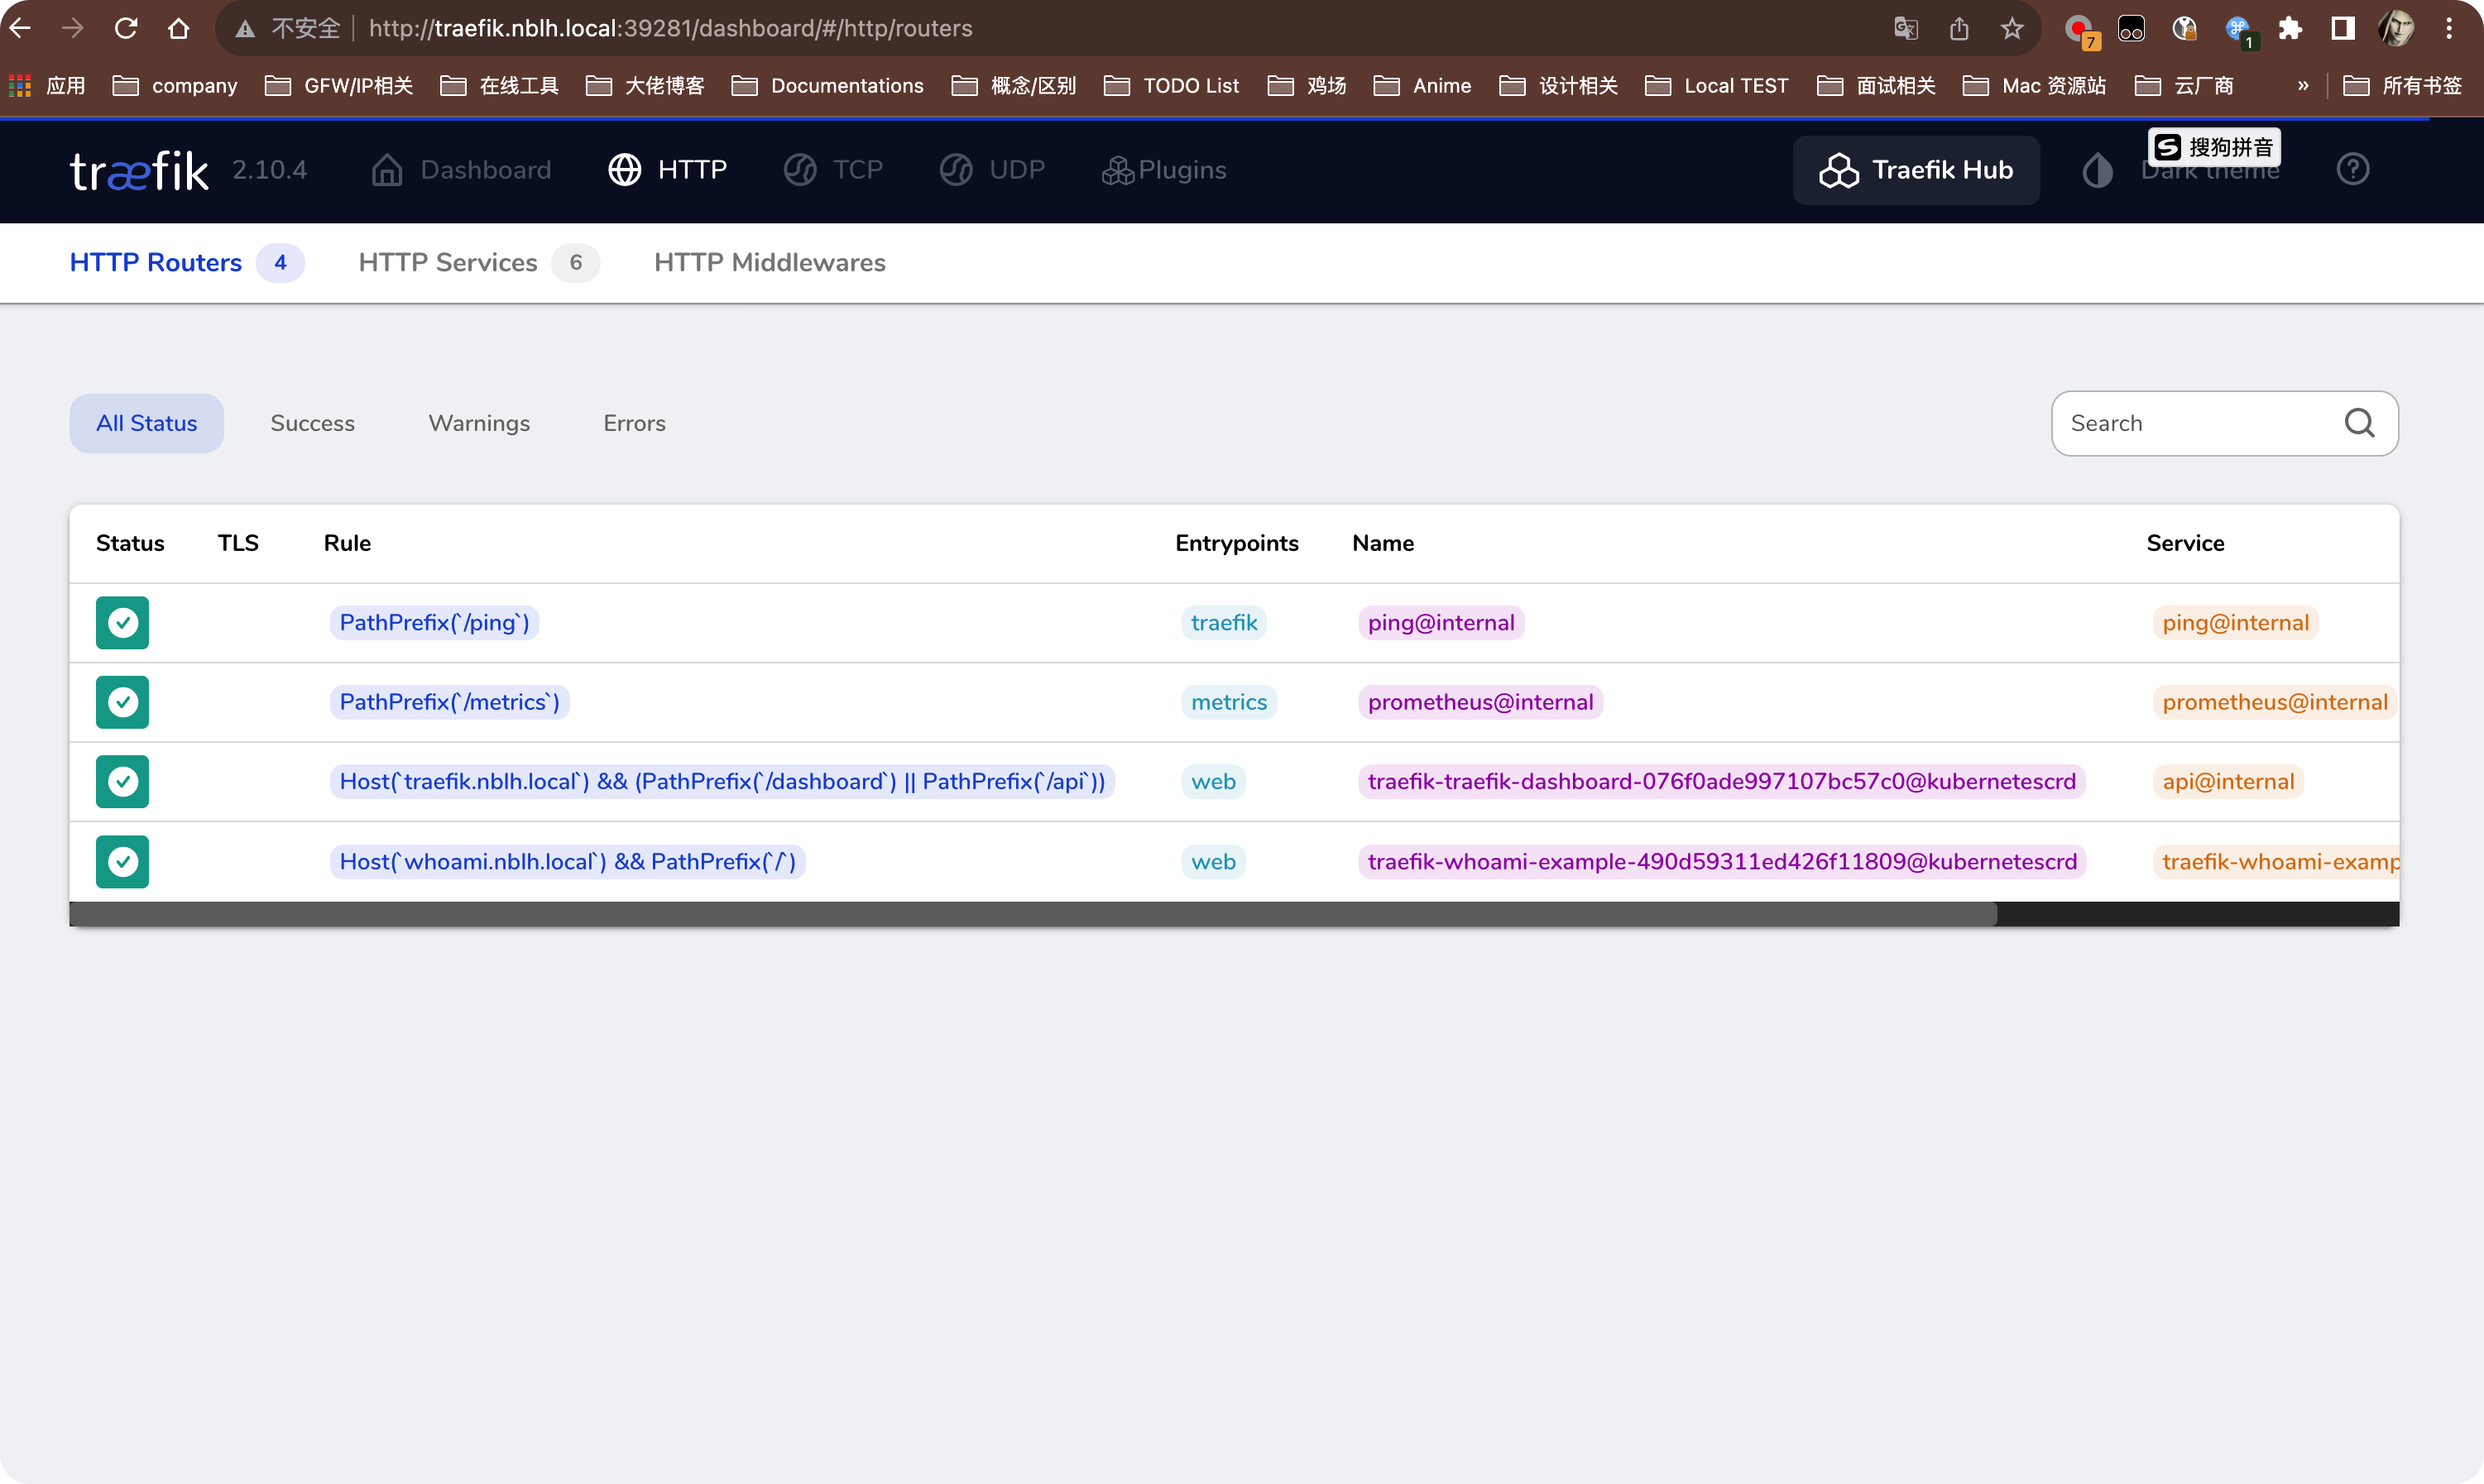
打开dashboard可以看到新创建的route:
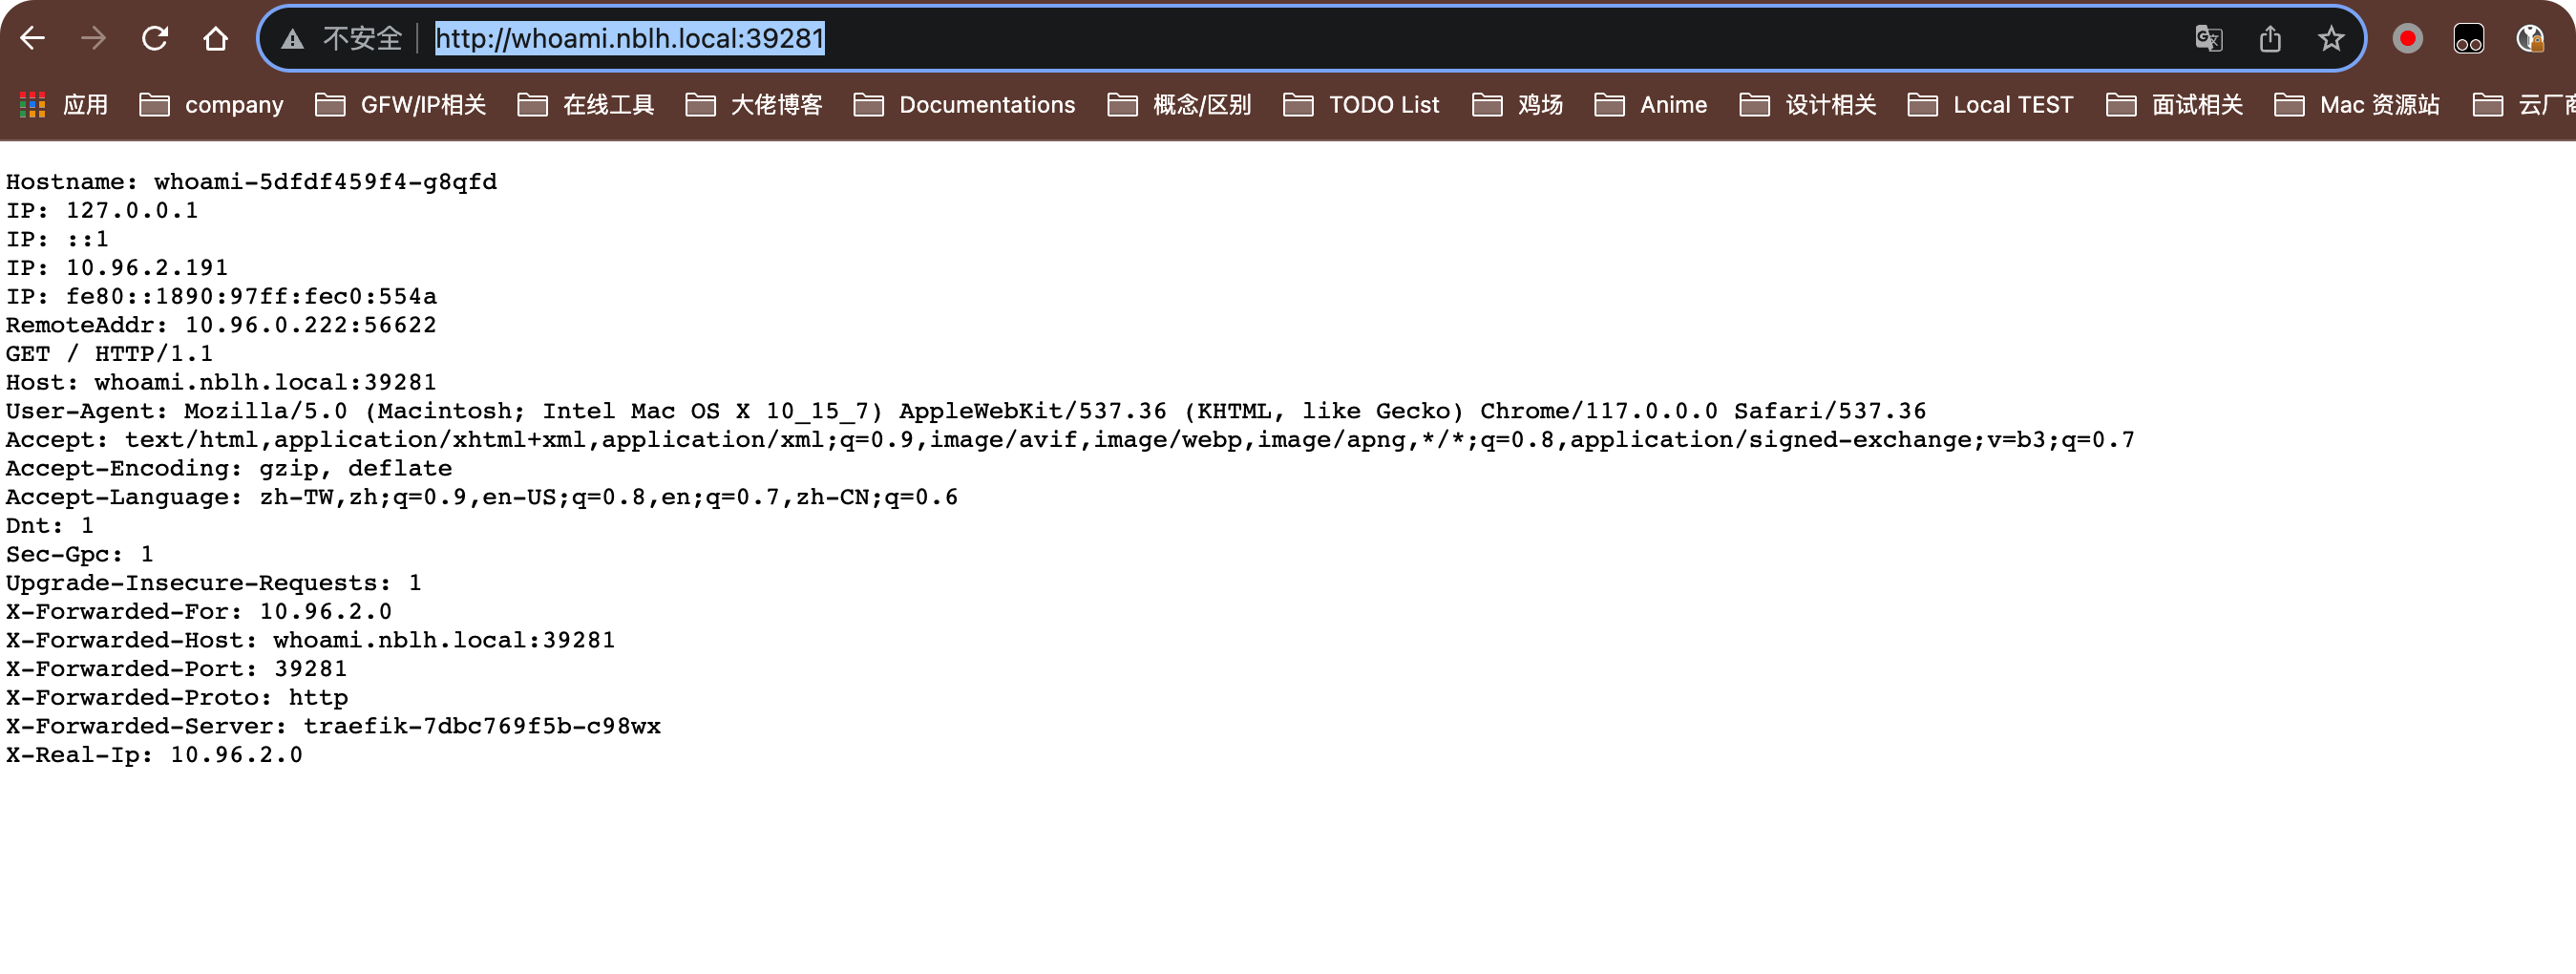
 打开浏览器访问 whoami.nblh.local:39281:

反向代理
下面以反代tcp MySQL服务为例。
- 默认配置文件下,只有
traefik(9000)、web(8000)、websecure(8443)以及metrics(9100)开放,如果想要反代MySQL tcp又想自定义端口的话,需要单独在配置文件中进行配置,下面以helm 安装的traefik为例:
 1
 2
 3
 4
 5
 6
 7
 8
 9
10
11
| # 修改values.yaml的port配置段,添加MySQL的entrypoint
...
ports:
mysql:
port: 13306
expose: true
exposedPort: 3306
protocol: TCP
traefik:
port: 9000
...
|
修改完成之后发布helm chart:
 1
 2
 3
 4
 5
 6
 7
 8
 9
10
11
12
13
14
15
16
17
18
19
20
21
22
23
24
25
26
27
28
| helm upgrade -n traefik traefik -f values.yaml .
# describe检查一下
kdsvcn traefik traefik
Name: traefik
Namespace: traefik
Labels: <none>
Annotations: <none>
Selector: app.kubernetes.io/instance=traefik-traefik,app.kubernetes.io/name=traefik
Type: NodePort
IP Family Policy: SingleStack
IP Families: IPv4
IP: 10.106.204.239
IPs: 10.106.204.239
Port: web 8000/TCP
TargetPort: 8000/TCP
NodePort: web 39281/TCP
Endpoints: 10.96.0.222:8000
Port: websecure 8443/TCP
TargetPort: 8443/TCP
NodePort: websecure 35127/TCP
Endpoints: 10.96.0.222:8443
Port: mysql 13306/TCP
TargetPort: 13306/TCP
NodePort: mysql 37197/TCP
Endpoints: 10.96.0.222:13306
Session Affinity: None
External Traffic Policy: Cluster
Events: <none>
|
可以看到MySQL的13306已经映射到NodePort的37197端口.
2. 编写反代tcp的清单文件:
 1
 2
 3
 4
 5
 6
 7
 8
 9
10
11
12
13
14
15
| # traefik-tcp-mysql.yaml
apiVersion: traefik.io/v1alpha1
kind: IngressRouteTCP
metadata:
name: mysql-ingressroutetcp
namespace: default
spec:
entryPoints:
- mysql
routes:
- match: HostSNI(`*`)
services:
- name: mysql-svc # 这里的mysql-svc是我集群中的一个无头服务.
namespace: default
port: 3306
|
应用该清单文件:kubectl apply -f traefik-tcp-mysql.yaml.
3. 检查与测试:
 1
 2
 3
 4
 5
 6
 7
 8
 9
10
11
12
13
14
15
16
17
18
19
20
21
22
23
| # describe 看一下
kdn default ingressroutetcps.traefik.io mysql-ingressroutetcp
Name: mysql-ingressroutetcp
Namespace: default
Labels: <none>
Annotations: <none>
API Version: traefik.io/v1alpha1
Kind: IngressRouteTCP
Metadata:
Creation Timestamp: 2023-09-21T06:26:23Z
Generation: 1
Resource Version: 5663676
UID: 52b46037-137e-444d-b90e-158b98d584b2
Spec:
Entry Points:
mysql
Routes:
Match: HostSNI(`*`)
Services:
Name: mysql-svc
Namespace: default
Port: 3306
Events: <none>
|
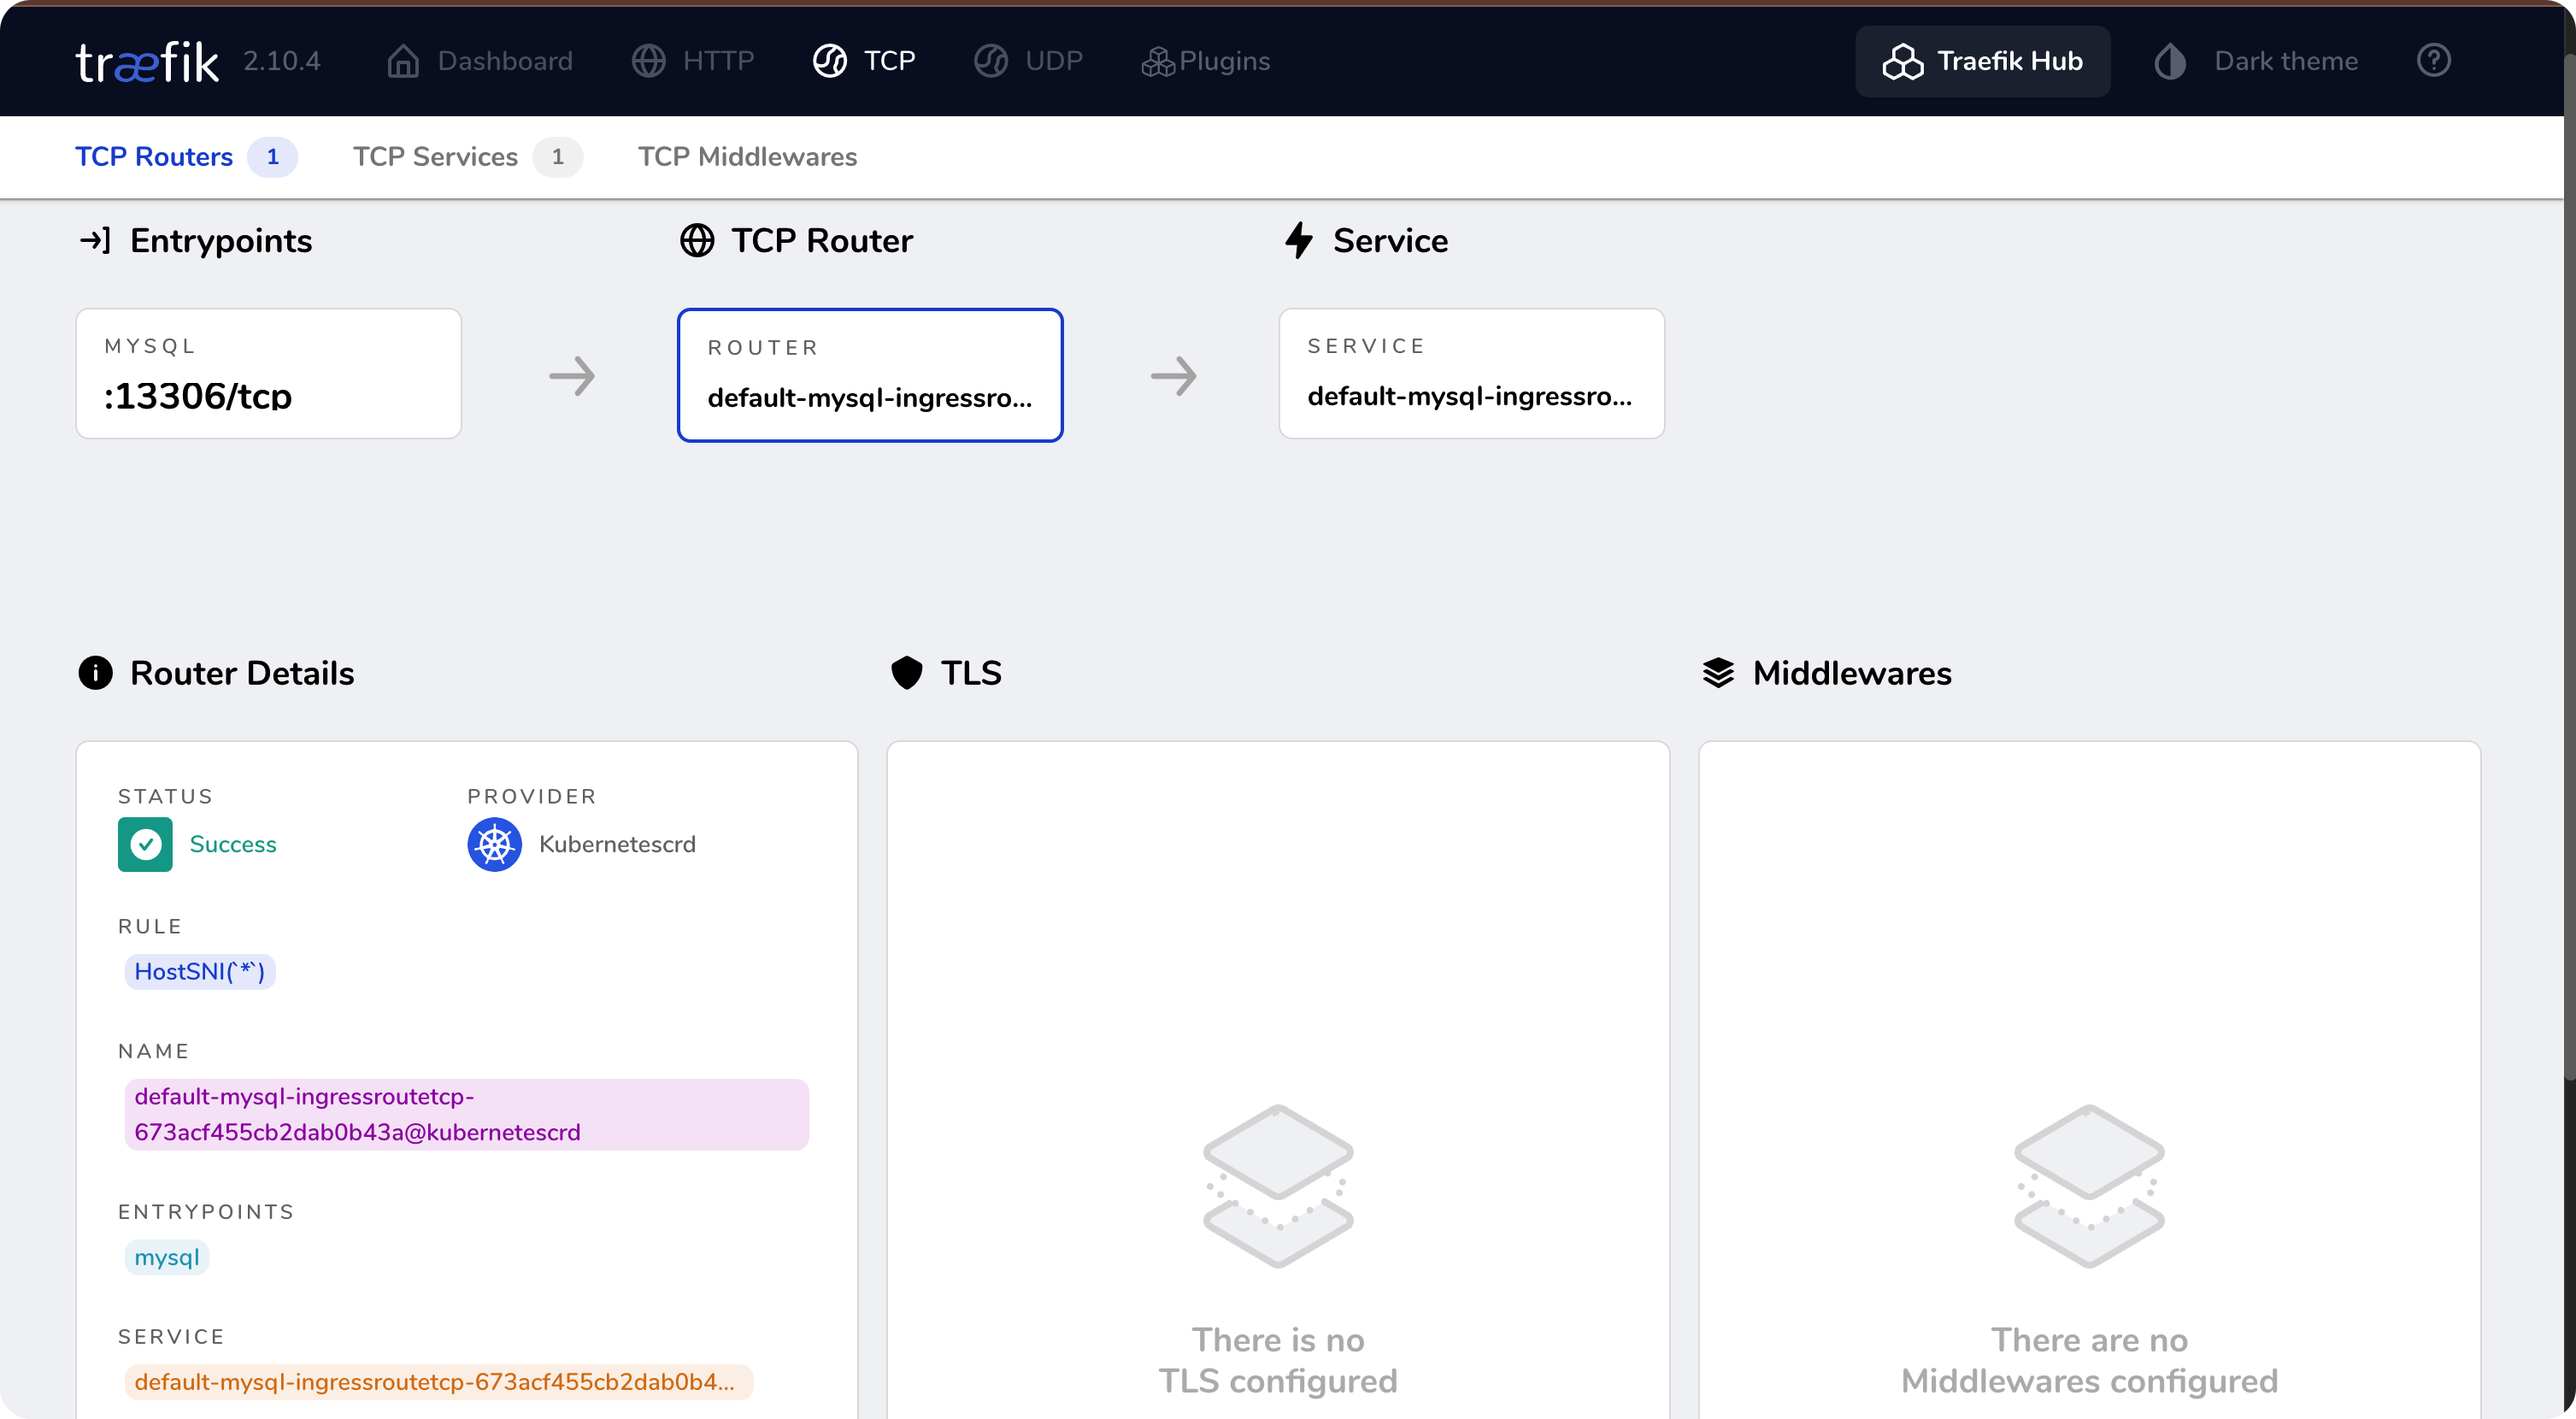
在dashboard中检查:
 现在就可以使用MySQL客户端进行连接啦,比如使用mycli工具进行连接:
 1
 2
 3
 4
 5
 6
 7
 8
 9
10
11
12
13
14
15
| mycli -h172.19.82.158 -P37197 -uroot
MySQL 5.7.43
mycli 1.27.0
Home: http://mycli.net
Bug tracker: https://github.com/dbcli/mycli/issues
Thanks to the contributor - KITAGAWA Yasutaka
MySQL root@172.19.82.158:(none)> select version();
+------------+
| version() |
+------------+
| 5.7.43-log |
+------------+
1 row in set
Time: 0.026s
|
Done.
参考链接
 上面的
上面的 打开浏览器访问 whoami.nblh.local:39281:

 现在就可以使用MySQL客户端进行连接啦,比如使用mycli工具进行连接: